
CRC
Over the weekend I ended up taking both ENSLD and my Palo Alto NGFW engineer exam. I originally thought I would pass ENSLD and fail my Palo Alto certification, but it was the other way around. I realized during my testing for ENSLD there was some stuff I forgot because I haven't covered it recently as I have had an incredibly busy May. Now that I have the Palo Alto certification out of the way I can fully focus on ENSLD. My plan is to take it again in two weeks. I missed out on the Pearson deal, but I am confident when I retake it I can pass it.
CRC, this is something I learned about very early when studying for my CCNA over a year ago with Jeremy's IT Lab. What exactly is it? CRC stands for cyclic redundancy check. CRC is an error detection mechanism which is often used in computer and storage networks to be able to identify if data has changed or been corrupted during transmission. When a device needs to send data, it will run a computation algorithm based on cyclic codes against the data into a fixed-length number which is known as the CRC value. It is appended to data that is transmitted through the network. The other device will then run the same cyclic code algorithm against the data and compare values. If the values are the same the remote device will assume the data was transmitted without any issues. If they do not match they assume it has been corrupted across the network. For our networking devices, this is often used with Ethernet.
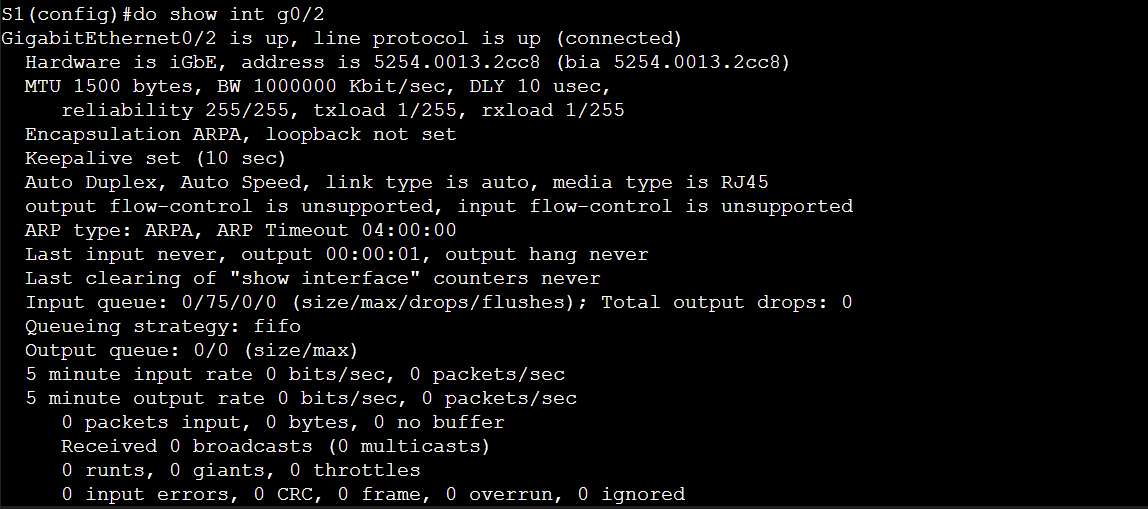
To be able to view the CRC error count on a switch's interface, use the command show interface [intid]. This command will allow us to display the amount of CRC errors as seen below in the screenshot in the very last line.
The main cause of CRC errors with Ethernet is a speed mismatch or a duplex mismatch. To fix this, make sure the speed is set correctly with the speed [#] command, as well as the duplex with the duplex auto or duplex full command. Another thing you should look out for is the cable being damaged. You can use a cable tester for this or run the command on a Cisco switch: test cable-diagnostics tdr interface Gi1/0/1, then after a few seconds use the command show cable-diagnostics tdr interface Gi1/0/1.
I mentioned earlier duplex and speed, these are very important concepts in L2 switching. By default Cisco switches will auto-negotiate speed and duplex. Most network adapters support this function, however older devices may need to be configured manually. Speed is self-explanatory, it is the speed of the link, whether that is 100 Mbps, 1 Gbps, etc.
Half-duplex means that a port can only send data when it is not receiving data, meaning it can't send and receive data at the same time. This is very inefficient. This is how network hubs run so they can prevent collisions. Full-duplex on the other hand means all nodes can send and receive data on their port at the same time and there is no need to worry about collisions. Full-duplex uses two pairs of wires at the same time compared to half-duplex only using one.
A little fun fact: on your computer if you go to the properties window for your network adapter, by default it should be auto-negotiation, but you can change the speed and duplex if you would like to.